Monday 20 January 2014

Knald


I have just been doing some messing around in Knald with my base diffuse for my windows, I've yet to do the panes or dirty up the wood.  This is some powerful software, it's really going to be a great thing to use for my textures, especially the wood.

Looking at this I might go add some more tris to the top of the curved window, you can see the edges too easily.

Gloss Map Issues


I revisited one of my older assets to add a gloss map for the leather, I couldn't seem to get it working correctly, it added a whole misty looking shine to my asset.


All it took was adding a multiplier to the gloss map. It's looking a lot better now, but I just spotted an error in the diffuse which I'll have to go in and fix, it shouldn't take five minutes.

Thatch


I managed to finally find a base texture for my windows that I was happy with, it's a hand hewn wood texture that I have been modifying to use for the diffuse of my beams, windows and a couple of other assets.  I moved onto the windows and made a template to use for the flowers on the frames.  I'll either use an alpha in ZBrush or model in some geometry in 3ds Max and then bring it into ZBrush.


In the meantime I decided to get on with my tiling thatch texture.  I did some experimenting in 3ds Max to model the bundles of straw.  The thatch is not really seen much so I knew I didn't have to spend much time on it.

When I was trying to project my template onto my plane to begin using the 2.5D method I had used for my wall I had several problems with the old method I used in 4R2 not working in 4R6.


I had a hell of a lot of problems with ZBrush crashing when trying to perform best renders, it wasted a lot of my time.


After I finished the texture I popped it into UDK next to a couple of models with flat diffuse textures to check the colours were working together.


I then found I had a problem with the texture going a bit crazy at a distance, I think that the high detail of the texture might be an issue to be viewed at from a distance.  I'm still trying to figure out the problem and seeing if I can get around it.


Sunday 5 January 2014

Christmas Break Continued...


Height Map


AO Bake


Shadow Map


Flat Diffuse


Gradient Map


Cavity Peaks Map


Cavity Valleys Map


(Maps merged together)


Normal Map


Once I got it all into PS I used ZBrush to produced a whole range of maps my editing lights, shaders and materials.

The next step after this was to get it tessellating in engine.


               After I had replicated what is on UDN this is what it looked like... needed some tweaking.


This was my first time touching materials in UDK that don't go beyond the standard maps so I roped my friend Will into help.  The issue was that the mesh would not deform very well, there just didn't seem to be enough tris.  I was using my normal map and I changed to my height map as the information on there is a lot cleaner and I thought it would be more suitable.


We turbosmoothed a plane and brought it back into UDK and the edges of the stones looked a lot better.

But I could see that my height map was maybe a bit too basic, it still looked flat even though the mesh was 3D so I went in and added a bit more contrast.

Will (http://willtparker.carbonmade.com/) also thought of a way to make more use of the tris by moving the verts around on the plane to correspond with the gaps between the rocks.


It was looking a lot better but the tri count was though the roof.

I had originally wanted dynamic tessellation where the triangles cut back the further away you are from the mesh but I was testing it and it just tore nasty holes in the mesh.  I watched a few tutorials and no one seemed to know away around it.  But after I changed the verts so that they followed the lines of the stone I quickly put it on and realised it had stopped tearing.


There's a little demo of the dynamic tessellation and the material. After I have got this working on my meshes in my scene and my fireplace I'll be moving onto my ceiling and the rest of the structure.


Christmas Break


Over Christmas I took a week off and I went home, but before and after then I got quite a bit of work in and learnt a few new things.

I decided to move onto my wall next and so I had to go and learn the ways of ZBrush. I have only ever used Mudbox before and I haven't done much in that apart from sculpt my face for a university module in 2nd year.

I found my first attempts at sculpting rocks were god damn awful but I manged to improve quite quickly.  I spent a lot of time experimenting in ZBrush and seeing what I can use within the program.  So the first few days were me learning the ropes and playing around.


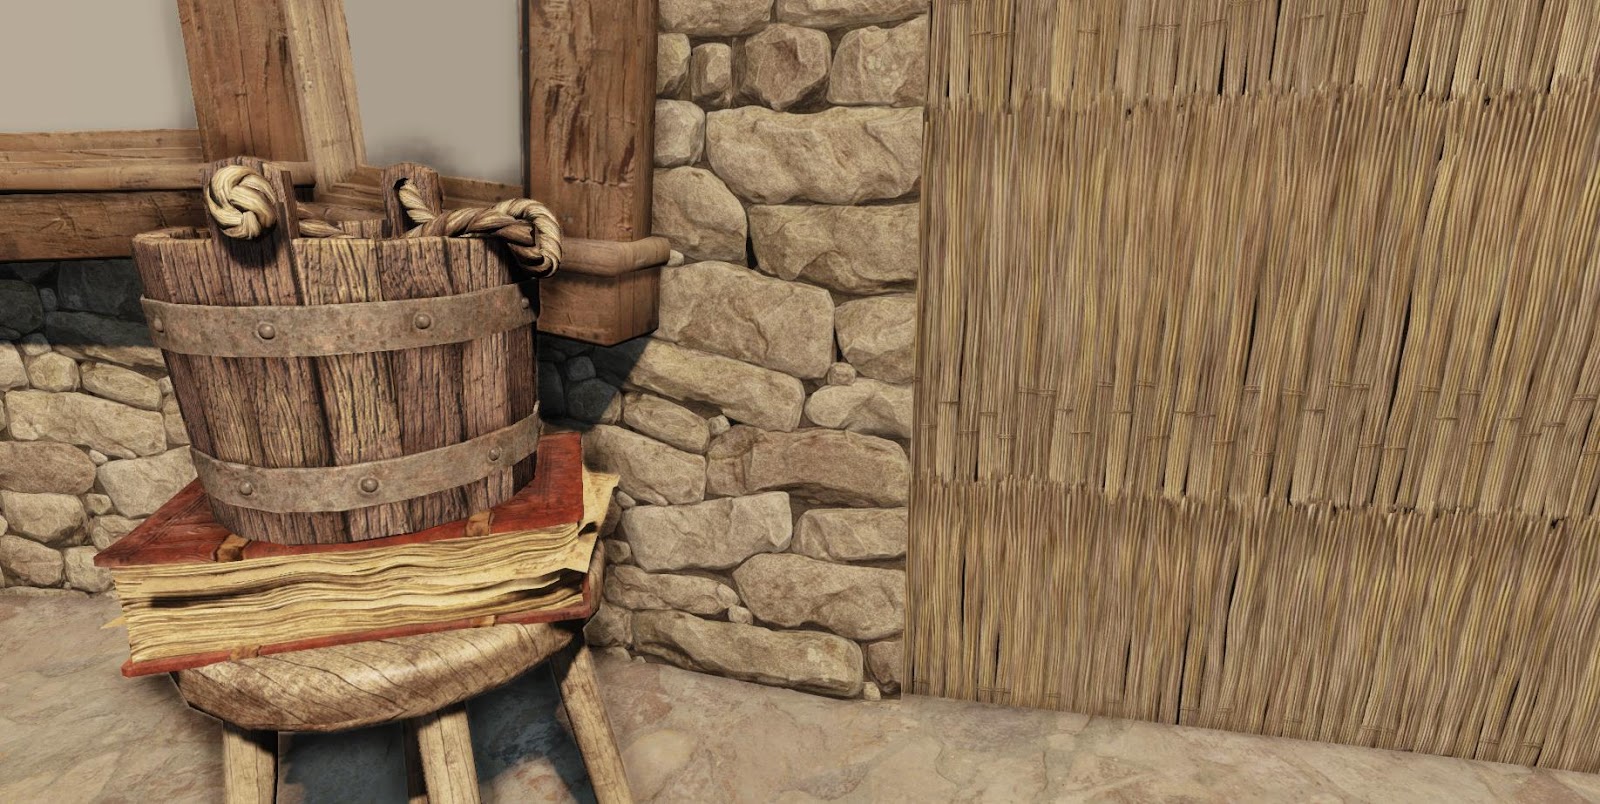
I decided to adopt a approach covered in a tutorial by a Naughty Dog employee to make my walls.  The pipleine (very simply) is to sculpt some bricks, texture them and make a tilable texture with them in 2.5D.

I sculpted 6 different bricks and textured them using ZBrush Spotlight.  I tired to make the silhouette of each brick different so add variation.  Since I had 6 bricks, that meant I had 36 different sides to play with when I have to make a tiling texture.

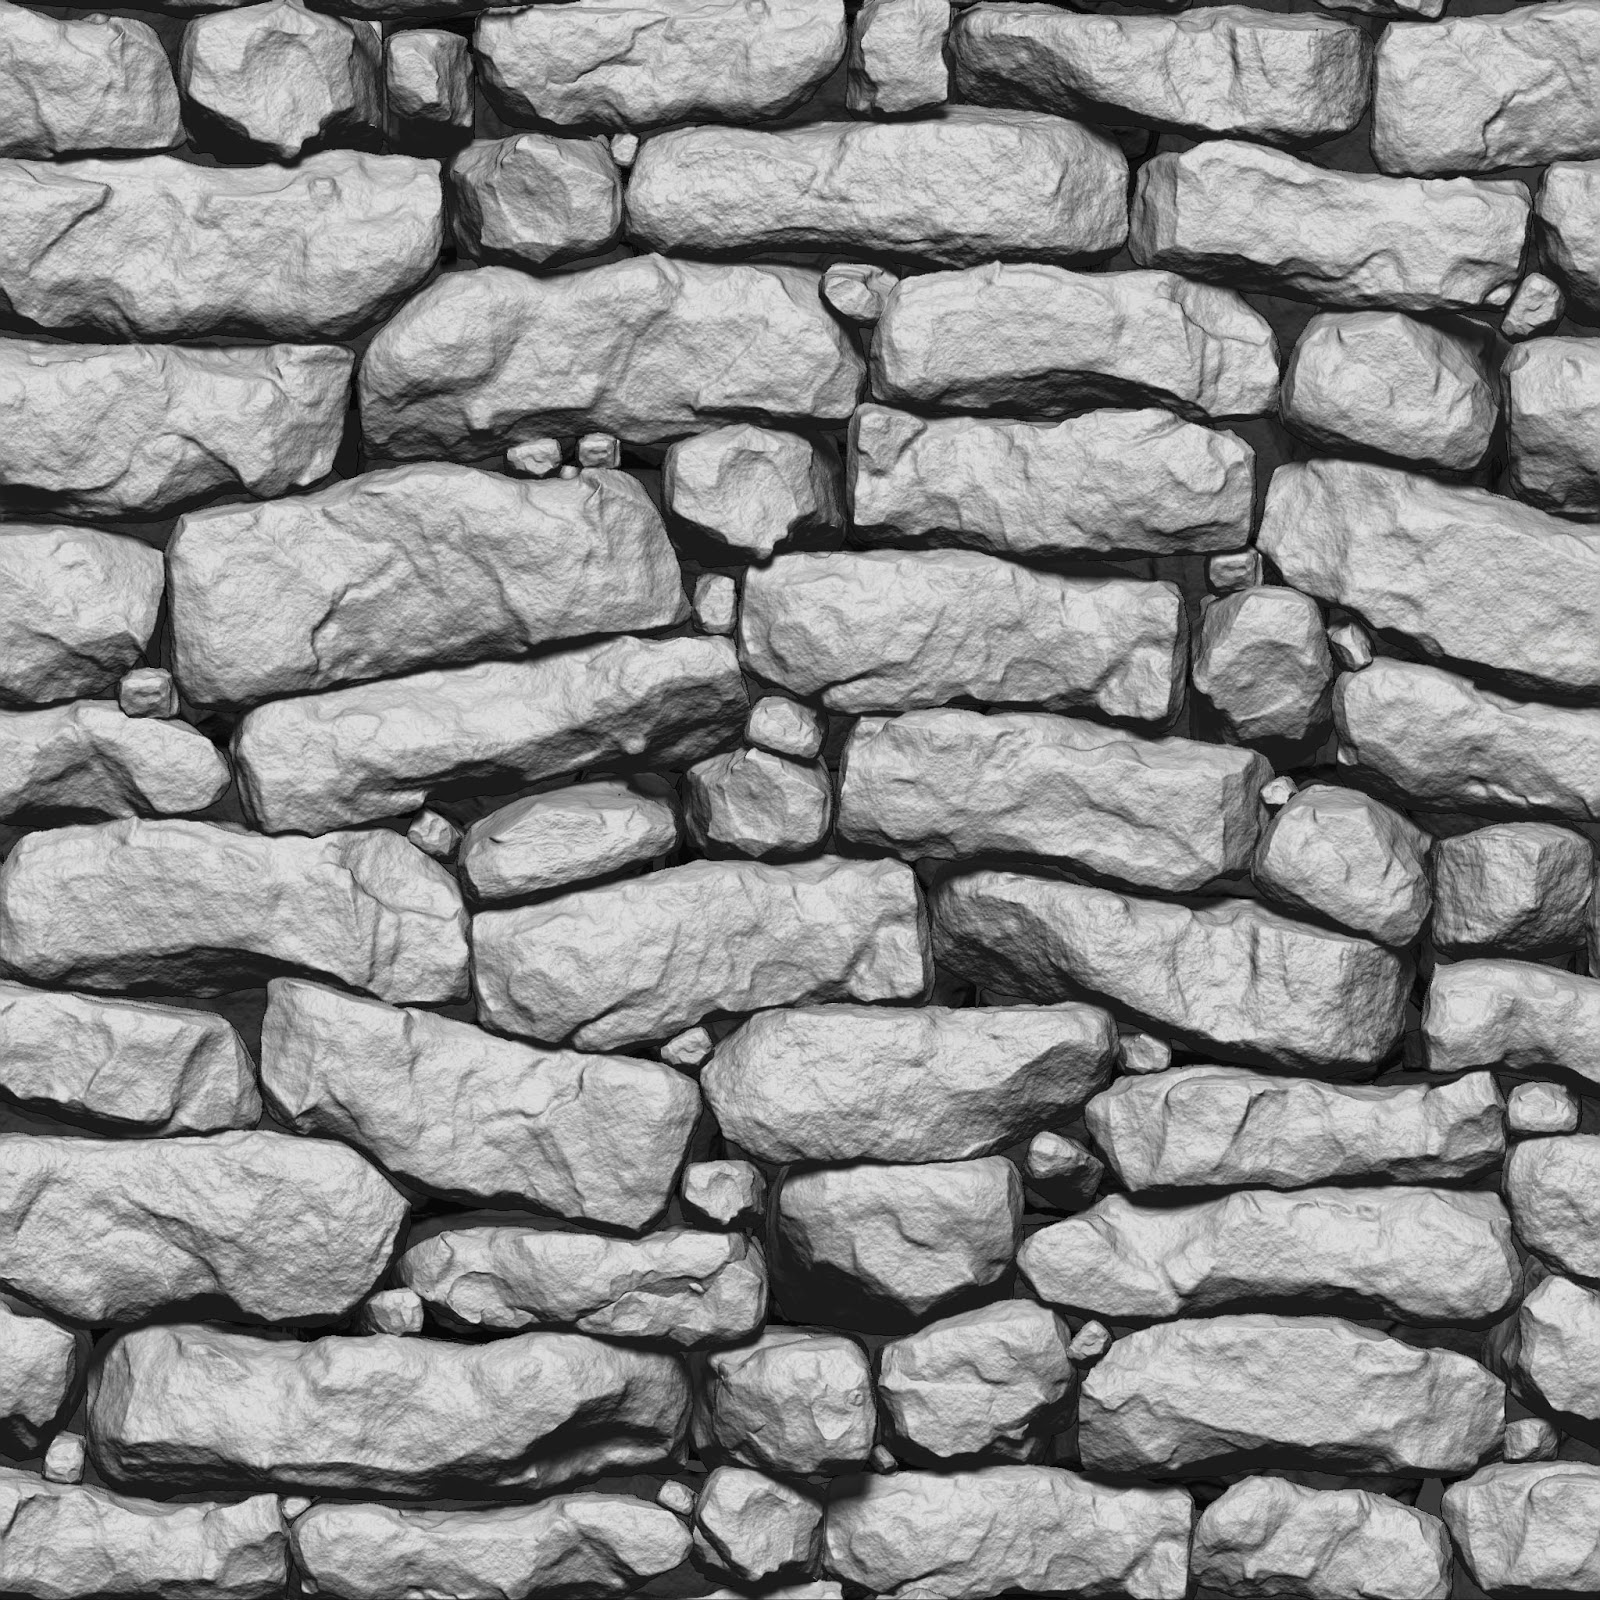
I then brought these into 2.5D within ZBrush. There was a lot I was still learning about ZBrush and 2.5D when I was using it, and I unfortunately made several major errors and had to restart the wall a total a 5 times.  I made a document for myself and any others that were interested to remind myself how to avoid the errors.


The annoying thing was the errors are simple and very easily made, but if you get it wrong then there is no undoing it.  One thing I really dislike about 2.5D is that once you have placed a mesh and deselected it, there is no way you can select it again.  I have found no way of moving yet but it is something that took a lot of getting used to and a lot of forward planning.

The errors that I made included;
-Depth of the bricks on the canvas
-The wrong document size
-The texture that I mad was not tilable as I had not used the tilde key to move it about
-ZBrush automatically drops to the bottom layer after reopening so I painted on the wrong layer
-I made the gaps between the bricks too large


The biggest issue was when I had finished the whole wall and then realised it didn't tile.


I had to go back in and start all over again and produced a better wall.


I then encountered a problem where ZBrush messed up my layer, it looked like some sort of anti-aliasing issue. 


I couldn't fix it so I had to drop back to a previous save and rebuild the missing pieces.  Once I finally had the wall finished I tried to send it over to PS via ZAppLink. It kept coming up with an error message so I spent a long time updating ZBrush, linking files, checking files, trying to see if there was another way to link to PS.  I was completely stumped until my friend Jussi (http://jussibrox.carbonmade.com/swooped in and pointed out that I needed to set it up, it took all of one minute to fix!