
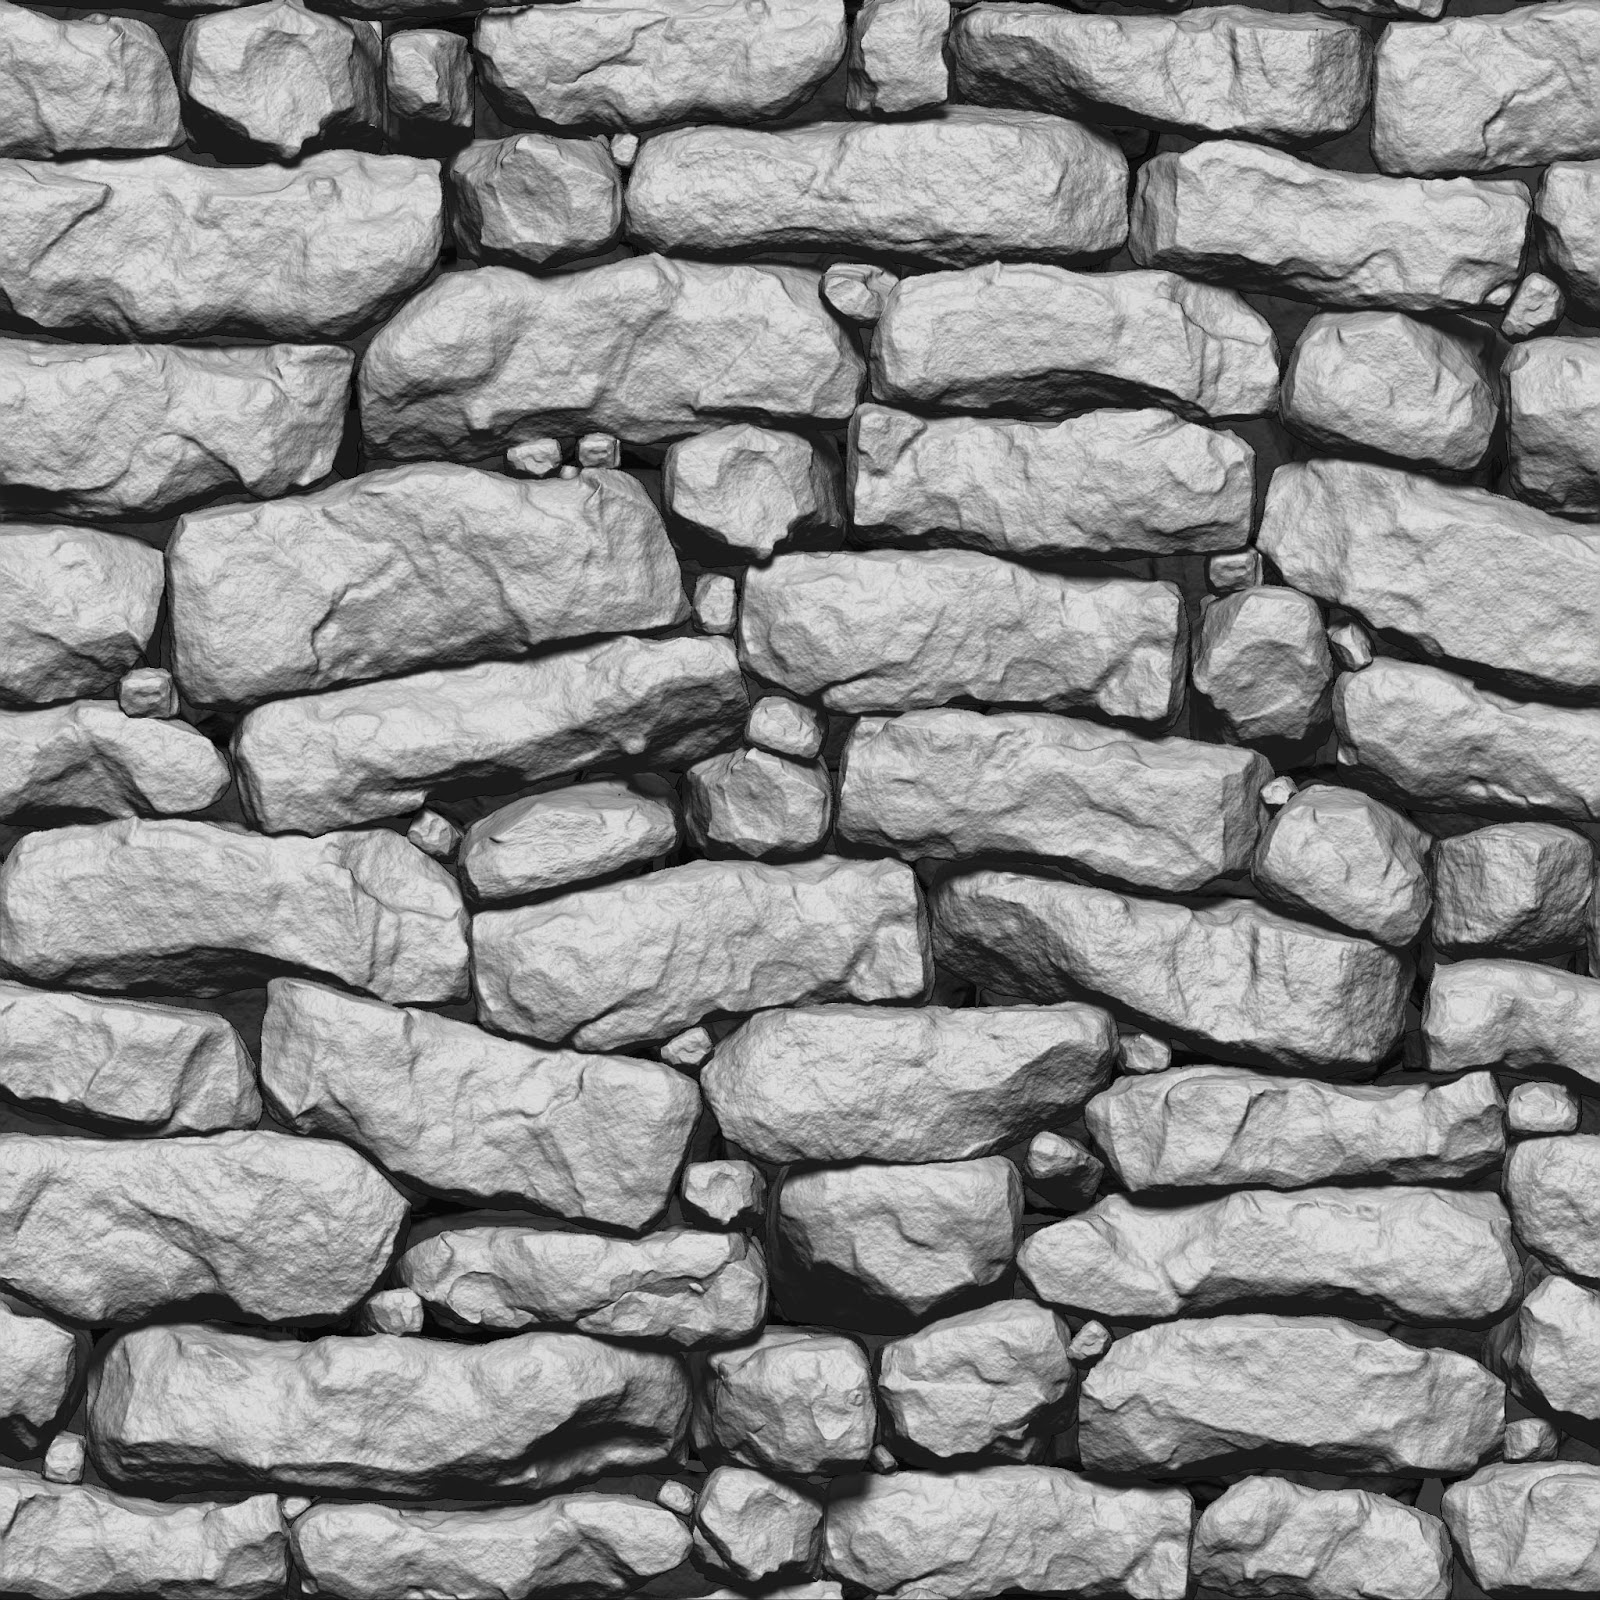
Height Map

AO Bake
Shadow Map

Flat Diffuse

Gradient Map

Cavity Peaks Map

Cavity Valleys Map

(Maps merged together)

Normal Map
Once I got it all into PS I used ZBrush to produced a whole range of maps my editing lights, shaders and materials.
The next step after this was to get it tessellating in engine.


This was my first time touching materials in UDK that don't go beyond the standard maps so I roped my friend Will into help. The issue was that the mesh would not deform very well, there just didn't seem to be enough tris. I was using my normal map and I changed to my height map as the information on there is a lot cleaner and I thought it would be more suitable.


We turbosmoothed a plane and brought it back into UDK and the edges of the stones looked a lot better.
But I could see that my height map was maybe a bit too basic, it still looked flat even though the mesh was 3D so I went in and added a bit more contrast.
Will (http://willtparker.carbonmade.com/) also thought of a way to make more use of the tris by moving the verts around on the plane to correspond with the gaps between the rocks.


It was looking a lot better but the tri count was though the roof.
I had originally wanted dynamic tessellation where the triangles cut back the further away you are from the mesh but I was testing it and it just tore nasty holes in the mesh. I watched a few tutorials and no one seemed to know away around it. But after I changed the verts so that they followed the lines of the stone I quickly put it on and realised it had stopped tearing.


There's a little demo of the dynamic tessellation and the material. After I have got this working on my meshes in my scene and my fireplace I'll be moving onto my ceiling and the rest of the structure.
No comments:
Post a Comment